How to Build Practical Laundry Room Shelving for a Tidy Space
This site contains affiliate links; view the disclosure for more information.
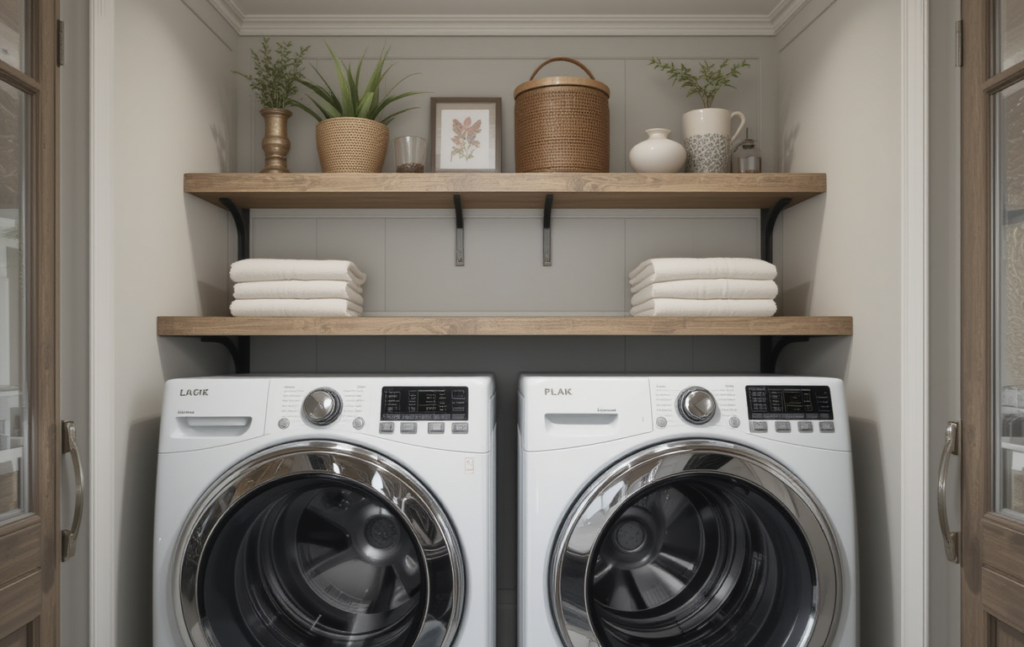
Maximizing storage with laundry room shelving can be a challenge, especially when space is limited. However, building custom laundry room shelving is one of the most effective ways to declutter and add both function and style. Whether you’re looking to organize detergents, cleaning supplies, or other essentials, this DIY guide will walk you through creating practical and stylish laundry room shelving solutions for any space. With the right materials, tools, and a little creativity, you can transform your laundry room into a more organized and efficient area.
Materials You’ll Need to Build Custom Laundry Room Shelves
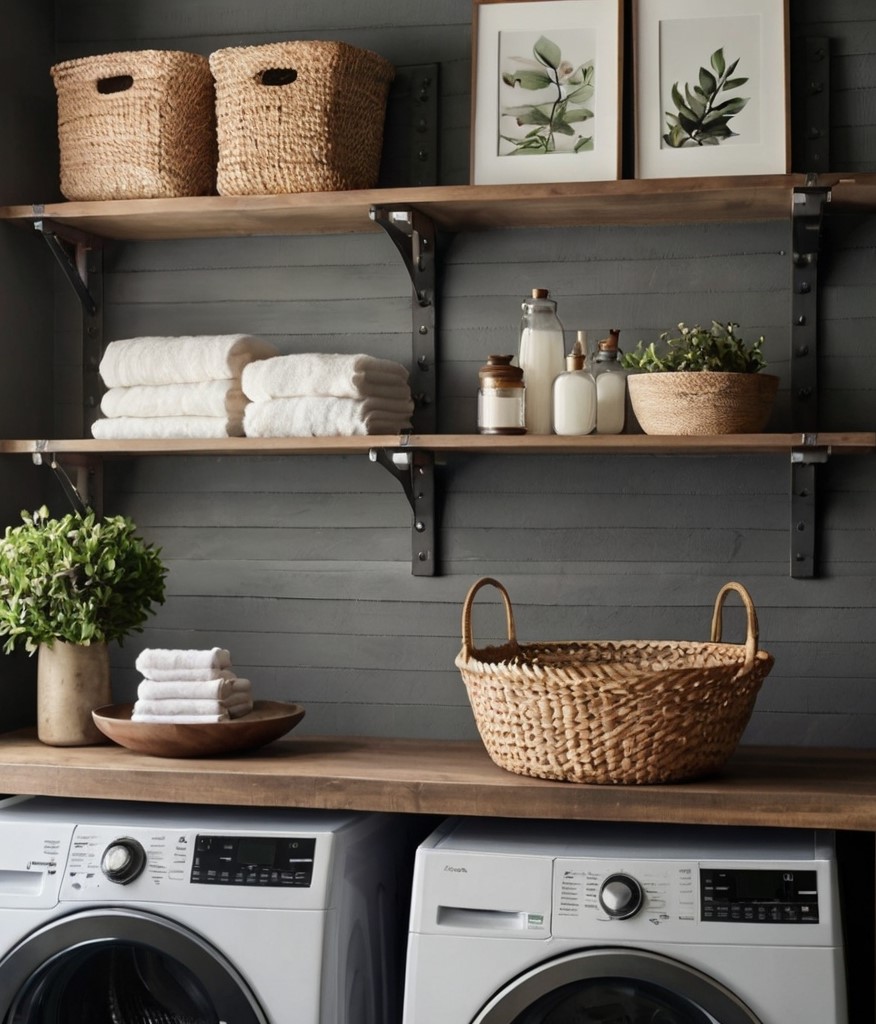
- Wooden Shelving Boards
To build sturdy and reliable shelves, opt for durable wooden boards such as pine, oak, or walnut. These hardwood options provide the strength necessary to hold heavy items like detergent bottles, fabric softeners, and other laundry essentials. Choose wood that fits your aesthetic while offering long-lasting durability. - Wall-Mounting Brackets
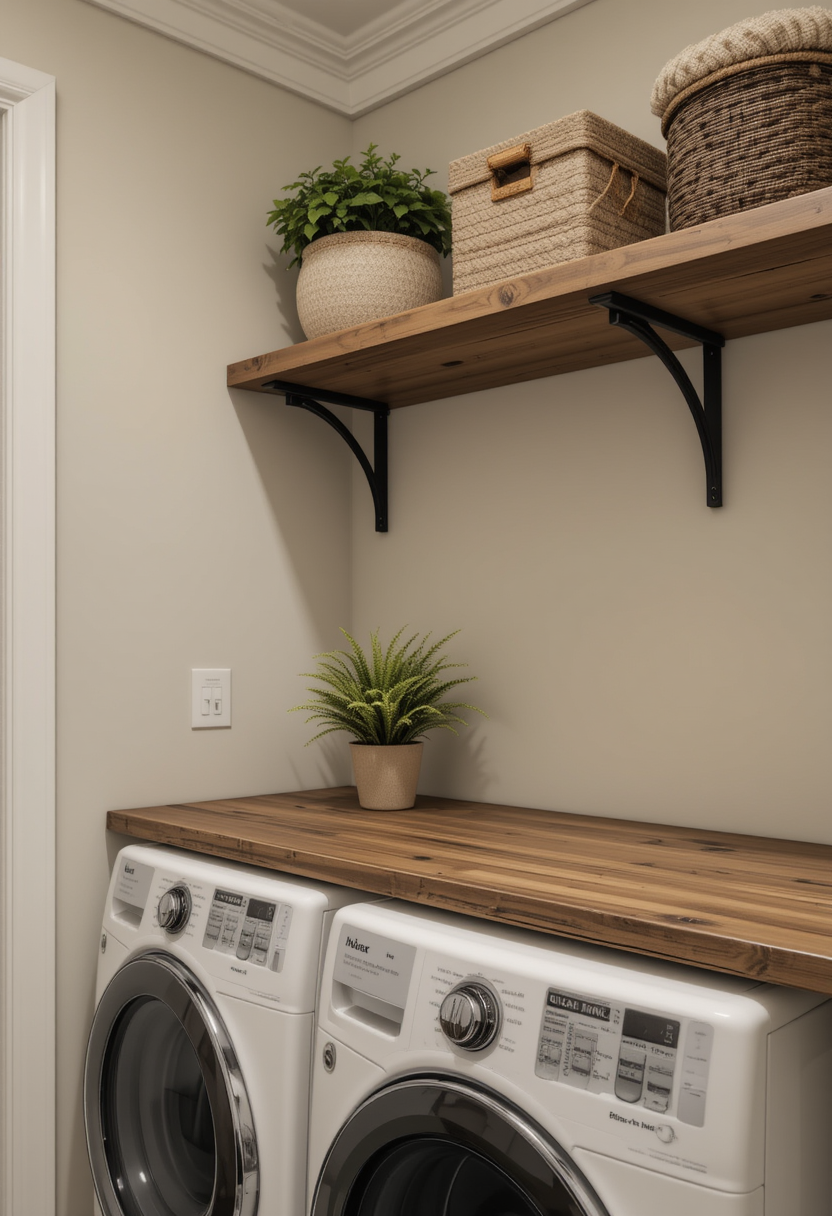
Select high-quality metal brackets to ensure your shelves remain secure. Heavy-duty brackets are essential for laundry rooms where you’ll store heavier items. Reinforced metal options provide the necessary support for the shelves to bear weight over time. - Wood Screws and Wall Anchors
To secure your brackets firmly to the wall, use high-quality screws and wall anchors. Wall anchors are especially important if you’re attaching shelves to drywall, ensuring that your shelves won’t sag or come loose under the weight of your laundry supplies. - Wood Stain or Paint (Optional)
Personalize the look of your shelves with wood stain or paint. Choose colors that match the overall design of your laundry room or go for a rustic finish that complements natural wood tones. A protective sealant can also be applied to extend the life of your shelves and preserve their appearance. - Essential Tools
You’ll need some basic tools for this project, including a measuring tape to measure the space accurately, a level to ensure the shelves are evenly aligned, a drill for making holes, and a saw (if you plan to cut the shelving boards yourself). These tools are essential for precise and effective installation.
Step-by-Step Instructions for Building Laundry Room Shelves
Step 1: Measure Your Space
Start by carefully measuring the available wall space in your laundry room. Assess the area where the shelves will be installed, and take note of any appliances, doors, or windows that could affect shelf placement. Decide how many shelves you need and determine the ideal dimensions for each one—ensuring they fit comfortably in the space while leaving room for ease of movement.
Step 2: Prepare the Wooden Shelves
After measuring and cutting your wooden shelving boards to the desired length, lightly sand them to achieve a smooth finish. This will ensure a polished, professional appearance. If desired, apply wood stain or paint to enhance the look of the wood and give your shelves a personalized touch. Once the stain or paint is dry, your shelves will be ready for installation.
Step 3: Install the Wall Brackets
Using a level, mark the placement of your wall brackets on the wall. This ensures your shelves will be straight and secure. Space the brackets evenly to ensure even weight distribution. Drill pilot holes and install the brackets using screws and wall anchors. It’s crucial to fasten the brackets tightly to the wall to ensure that they can support the weight of the shelves and your laundry essentials.
Step 4: Mount the Shelves
Once your brackets are securely attached, place the prepared wooden shelves onto them. Use screws to attach the shelves to the brackets from underneath, ensuring everything is firmly in place. Double-check the alignment with a level to avoid any tilting or instability.
Step 5: Organize Your Laundry Supplies
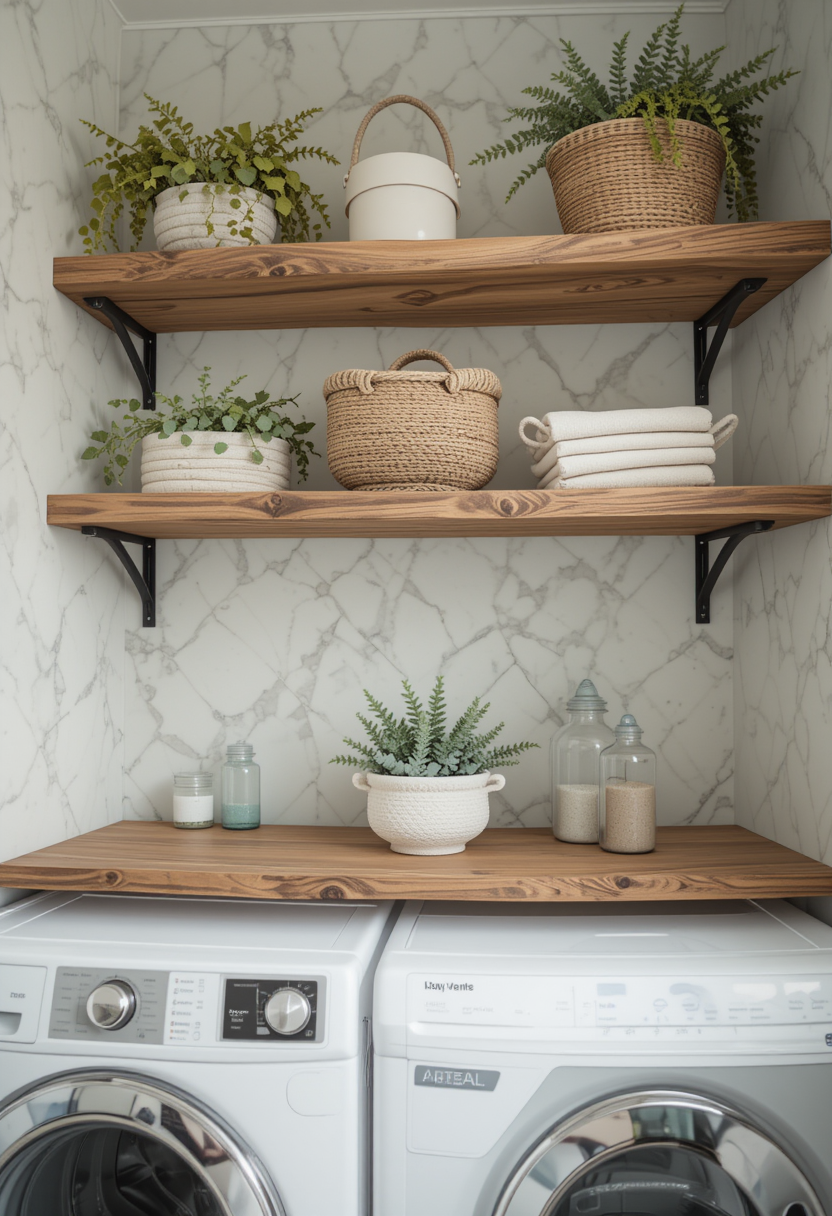
Now comes the fun part—organizing your laundry room. Arrange your laundry detergents, fabric softeners, and cleaning supplies neatly on your new shelves. For smaller items, like dryer sheets and clothespins, consider using decorative storage bins or small baskets to keep everything organized. Not only will this keep your space clutter-free, but it will also add a touch of style to your laundry room.
Frequently Asked Questions
What type of wood is best for building laundry room shelving?
- Pine, oak, and walnut are durable woods that are great for laundry room shelving. Pine is cost-effective, while oak and walnut offer more durability and a stylish finish.
How much weight can my laundry room shelving hold?
- The weight capacity of your laundry room shelving depends on the type of wood, wall brackets, and anchors you use. Heavy-duty brackets and solid wood can hold up to 50-100 pounds per shelf.
Can I install laundry room shelving on drywall?
- Yes, you can install laundry room shelving on drywall, but be sure to use wall anchors and screws to securely fasten the brackets. Drywall anchors will prevent the shelves from coming loose.
Should I use floating shelves or traditional shelving in my laundry room?
- Floating shelves offer a sleek, modern look and take up less visual space. However, traditional shelving with brackets is sturdier and better for holding heavier items in your laundry room.
How deep should laundry room shelving be?
- A depth of 10 to 12 inches is ideal for laundry room shelving. This provides enough space for detergent bottles and other supplies without taking up too much wall space.
Can I make laundry room shelving without using a saw?
- You can buy pre-cut shelving boards from home improvement stores to avoid using a saw. Many stores offer a range of sizes, or you can have the boards cut to your specifications.
How do I make sure my laundry room shelving is level during installation?
- Use a level to mark where the brackets will go and check the alignment before securing them. Always double-check after mounting the shelves to ensure they remain level.
Can I paint or stain my laundry room shelving to match my decor?
- Yes, you can paint or stain your laundry room shelving to match the aesthetic of your laundry room. Choose a color that complements your existing décor and adds warmth or contrast.
How can I organize smaller laundry items on my shelves?
- Use decorative baskets, bins, or jars to store smaller items like dryer sheets, clothespins, or stain removers. This will help keep everything neat and easy to access on your shelving.
What tools do I need to build custom laundry room shelving?
- You’ll need a measuring tape, level, drill, saw (if cutting shelves yourself), screws, wall anchors, and brackets to complete the project.
How do I install brackets without damaging the wall?
- Be sure to use wall anchors for extra support, especially if you are installing the brackets into drywall. Use a drill to make small pilot holes, then carefully insert the anchors and screws.
Can I add shelves above the washer and dryer for laundry room shelving?
- Yes, adding shelves above the washer and dryer is a great way to use vertical space. Just ensure the shelves are high enough to not obstruct access to your appliances.
What are the benefits of building my own laundry room shelving?
- Building your own laundry room shelving gives you full control over the design, size, and functionality. It’s cost-effective and allows you to customize the storage to fit your specific needs.
How do I prevent my laundry room shelving from sagging over time?
- To prevent sagging, ensure you use heavy-duty brackets and solid wood shelves. Avoid overloading the shelves and distribute the weight evenly.
Should I use metal or wooden brackets for my laundry room shelving?
- Metal brackets tend to be stronger and more durable, making them ideal for holding heavier items in the laundry room. However, wooden brackets can offer a more rustic aesthetic if you prefer.
Can I install custom laundry room shelving in a small space?
- Absolutely! In small laundry rooms, custom shelving is a great way to maximize vertical storage. Use wall-mounted brackets to free up floor space and add extra shelving above the washer and dryer.
How do I create a cohesive look with my laundry room shelving?
- To create a cohesive look, ensure the materials and finishes of the shelving match or complement other elements in the room, such as cabinets, flooring, or wall paint. Decorative touches like baskets or plants can also help tie everything together.
What’s the best way to secure laundry room shelving to the wall?
- Use strong wall anchors and metal brackets to secure your shelves to the wall. This ensures that the shelving remains stable and can support heavier laundry products.
How high should I install laundry room shelving above the washer and dryer?
- Install shelving at least 12-18 inches above the washer and dryer to ensure easy access to both the shelving and appliances. Make sure to leave enough space to avoid interfering with appliance doors.
Can I add lighting to my custom laundry room shelving?
- Yes, you can enhance your shelving with small LED lights or under-shelf lighting. This adds visibility, especially in darker laundry rooms, and creates a warm, welcoming atmosphere.
Pro Tips for Success in Your DIY Laundry Shelving Project
- Utilize Vertical Space: If your laundry room is small, make the most of vertical space by stacking shelves above your washer and dryer. This clears up floor space while providing extra storage for essential items like detergent, fabric softeners, and more.
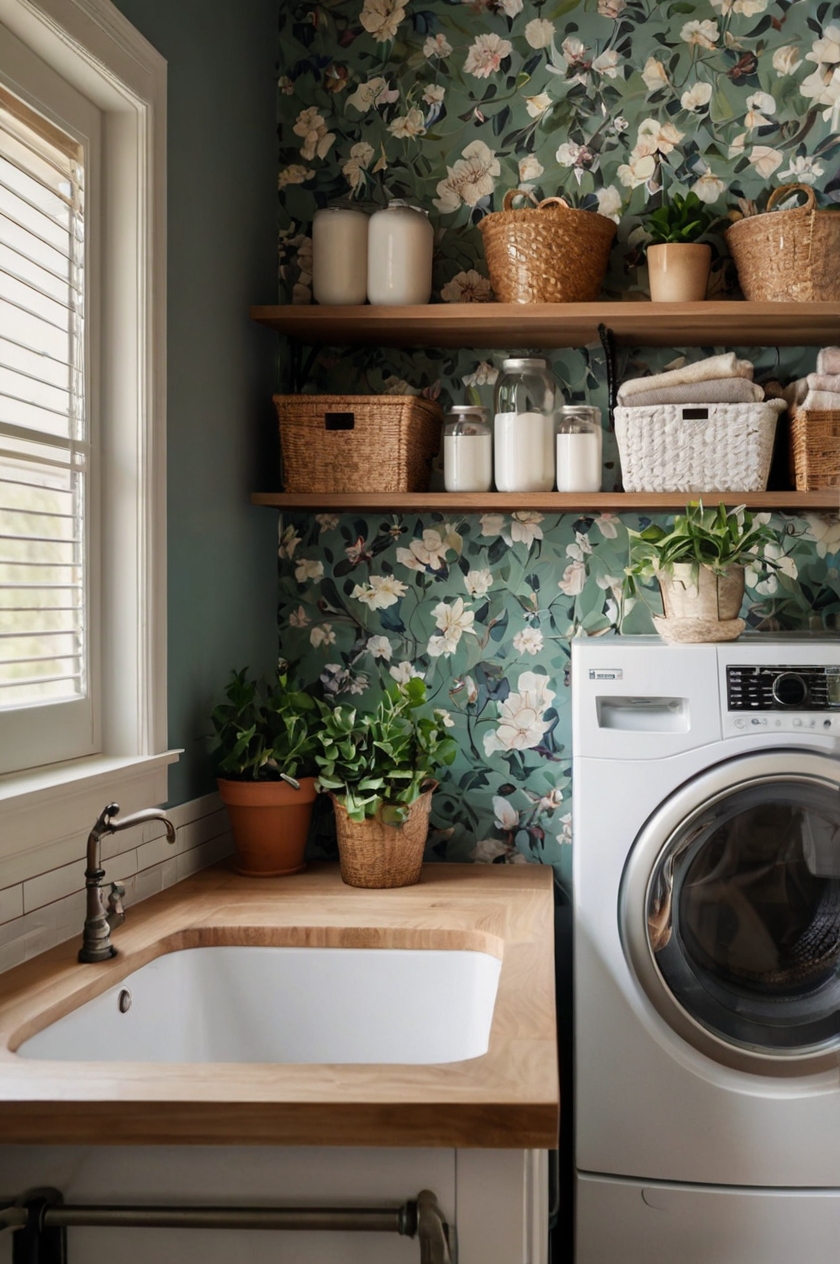
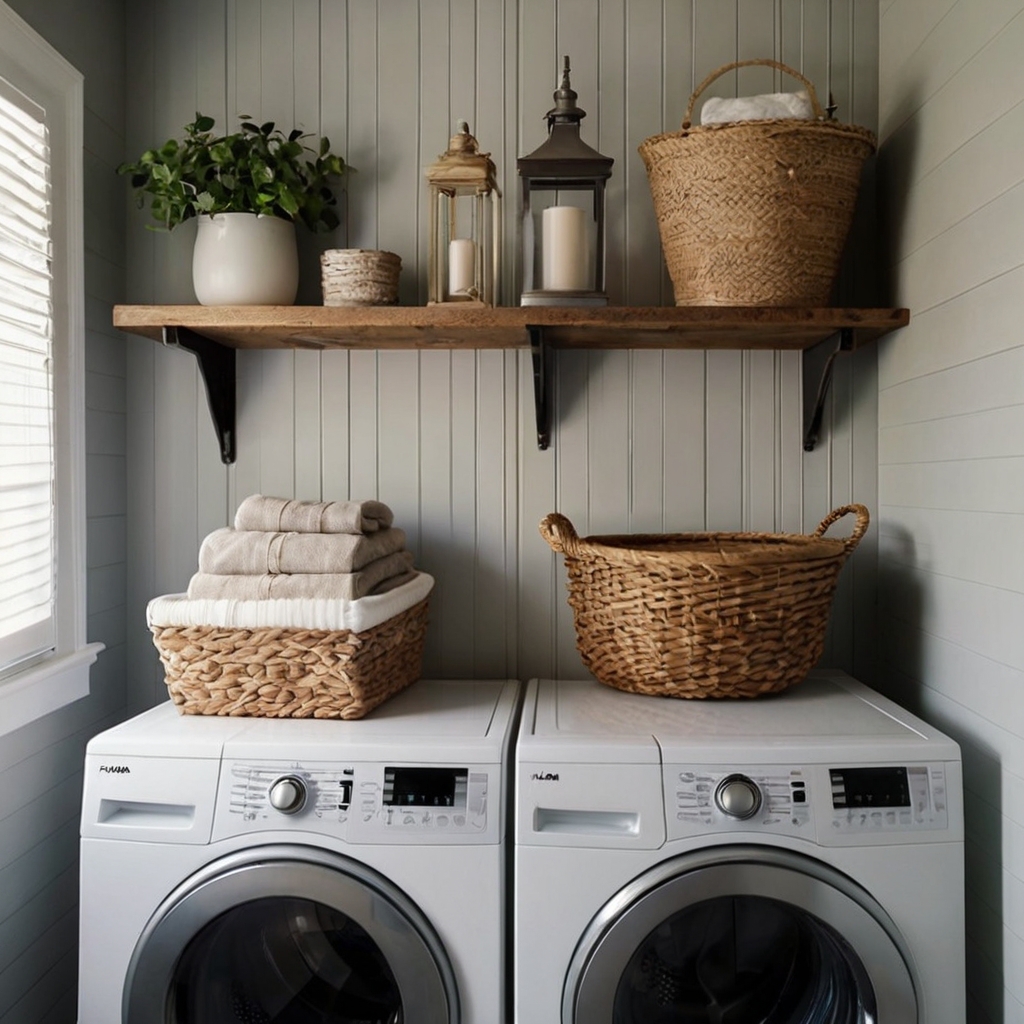
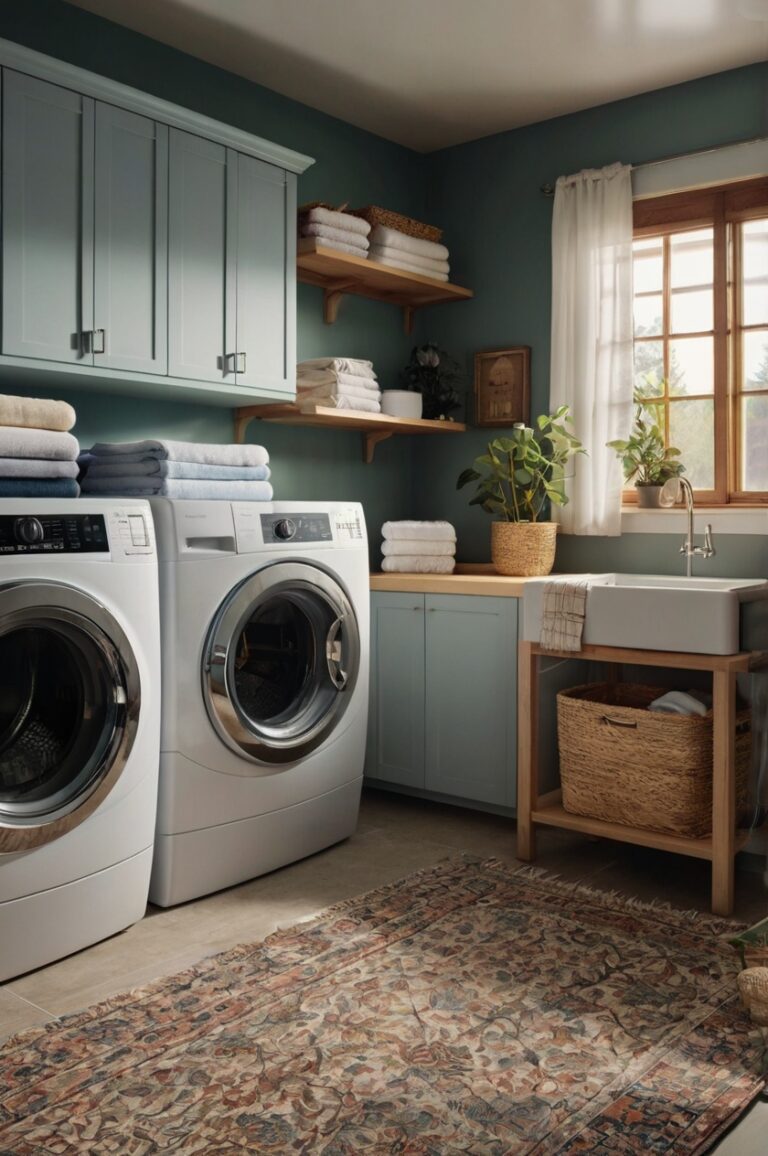
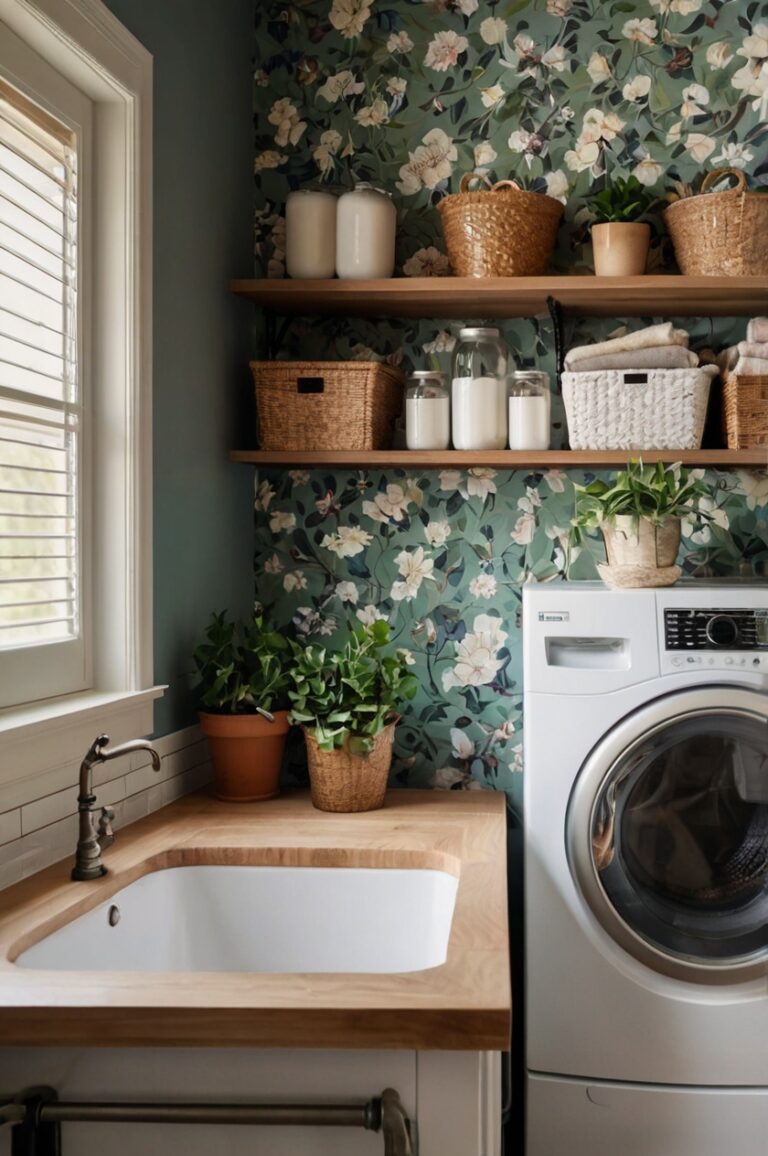
- Incorporate Decorative Elements: In addition to storing laundry supplies, use your shelves to display small plants or decorative baskets to give your laundry room personality. This will elevate the space and make it feel more like a curated area.
- Ensure Stability: Always ensure that your brackets are firmly installed and capable of holding heavy laundry products. Use high-quality materials and strong hardware to prevent any sagging or instability over time. Strong metal brackets are ideal for keeping your shelves sturdy and reliable.
