DIY Wall-Mounted Plant Shelf System: Bring Greenery into Your Home
This site contains affiliate links; view the disclosure for more information.
Bring greenery into your home with this DIY wall-mounted plant shelf system. These simple steps and essential materials will help you create a stylish and functional plant display that adds greenery to your space.
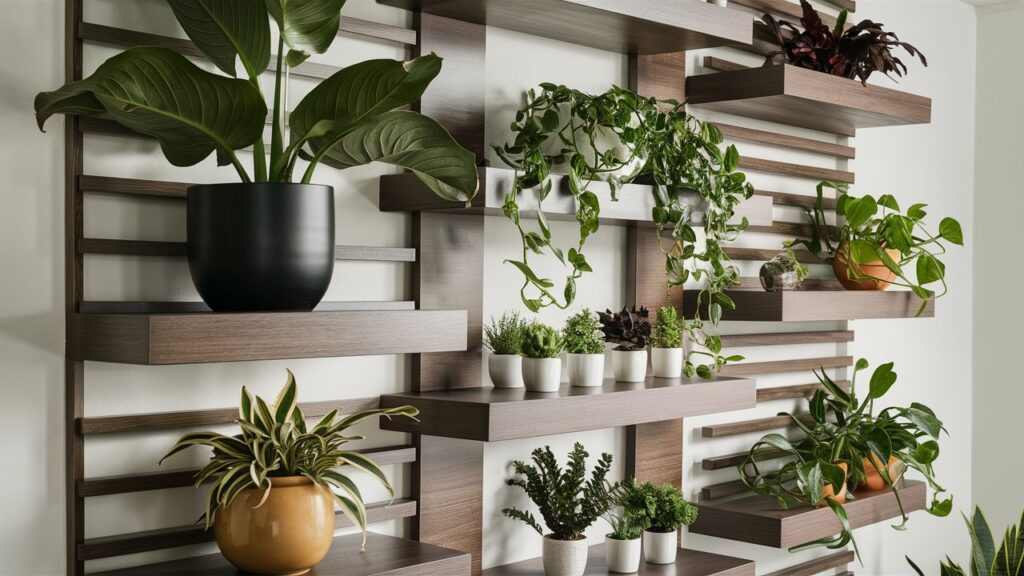
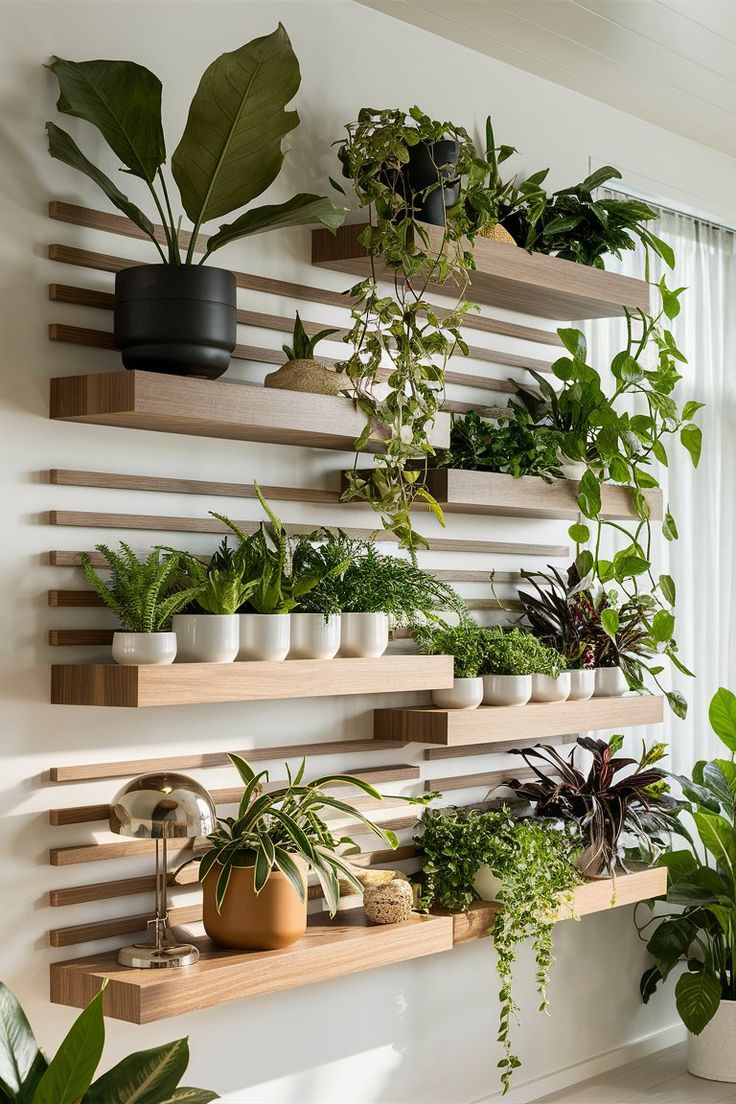
A wall-mounted plant shelf system is a fantastic way to introduce greenery into your home without taking up floor space. This DIY guide will help you create a unique, natural look by building a plant shelf system with wooden slats between each shelf for added structure and style. This design enhances both functionality and aesthetics, making it a perfect fit for any room.
Materials You’ll Need:

- Wooden Shelving Boards
- Choose durable wooden boards like oak slats, pine boards, or walnut for your plant shelves. These sturdy boards will hold a variety of plant pots and create a natural look that complements the greenery.
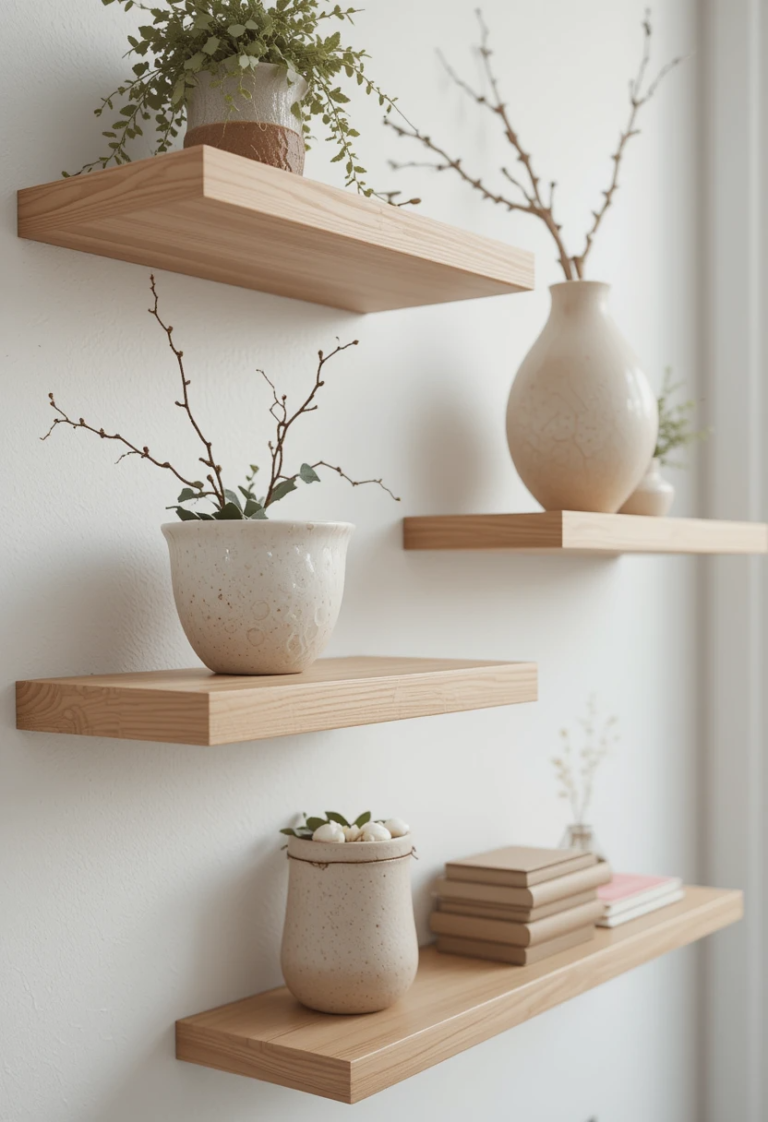
- Opt for sturdy floating shelves that can support your plant pots. You can either buy pre-made shelves or make your own.
- Wooden Slats
- Incorporate wooden slats between each shelf to add visual separation and extra stability. These slats also create an interesting vertical design, making the shelf system a standout feature in your home.
- Wall Mounting Brackets
- Strong wall mounting brackets will be essential for securing both the slats and shelves to the wall. Make sure to use hardware that can handle the weight of your plants and pots.
- Wood Screws and Wall Anchors
- You’ll need appropriate screws and wall anchors to secure both the brackets and slats, ensuring everything stays firmly in place even with the added weight of plants and water.
- Wood Stain or Paint (Optional)
- Apply wood stain or paint to customize the shelves and slats. This allows you to match the plant shelf system to the overall color scheme and décor of your room.
- Tools
- Essential tools like a measuring tape, level, a drill , and a saw (if you are cutting the wooden slats and shelves to custom sizes). Having the right tools ensures a clean and sturdy finish.
Step-by-Step Instructions:
Step 1: Measure Your Space
Start by measuring the wall where you plan to install the plant shelves. Think about the height between each shelf and how many slats you want to incorporate between them. Make sure to account for any windows, doors, or furniture that could impact the placement.
Step 2: Prepare the Wooden Shelves and Slats
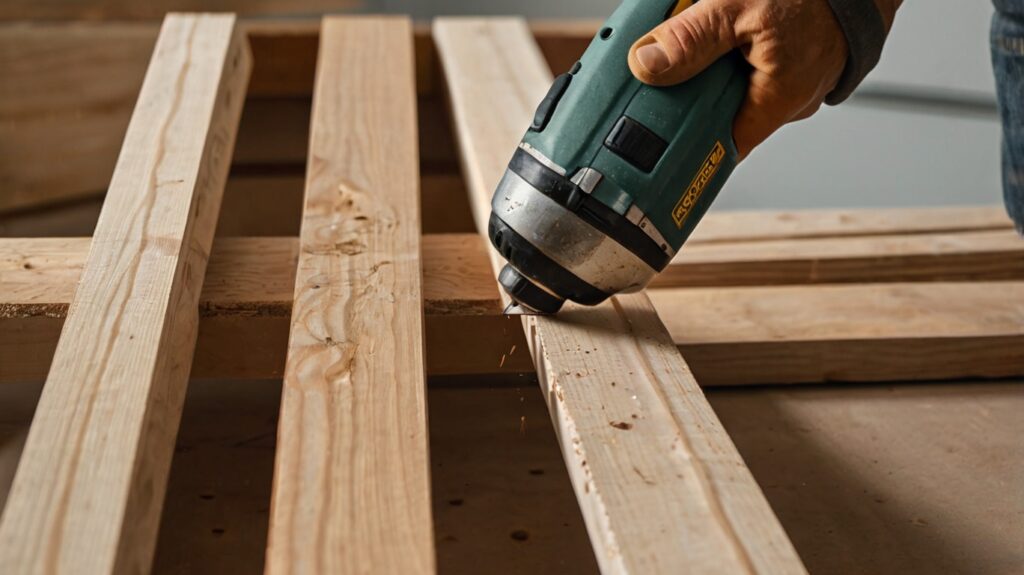
Cut the wooden shelving boards and slats to your desired length. Lightly sand the edges to ensure a smooth finish. If you want to enhance the appearance, apply wood stain or paint to both the shelves and slats. This will protect the wood and give the shelf system a polished look that complements your plants.
Step 3: Install the Wall Brackets
Using a level, mark where your wall mounting brackets will go. Space them evenly to ensure the shelves sit straight. Drill holes and insert the brackets securely using wood screws and wall anchors. This is important for holding the weight of the shelves, slats, and potted plants.
Step 4: Attach the Wooden Slats
Before mounting the shelves, install the wooden slats vertically between the brackets. These slats will provide separation between each shelf and add a structured, architectural design to the plant shelf system. Secure the slats in place with screws, ensuring they are straight and firmly attached.
Step 5: Mount the Shelves
Now that the slats are in place, position the wooden shelves on top of the brackets. Use screws to secure the shelves to both the brackets and slats, creating a unified, sturdy structure. The slats will add extra support and visual interest, while the shelves provide ample space for your plant collection.
Step 6: Style Your Plant Shelf
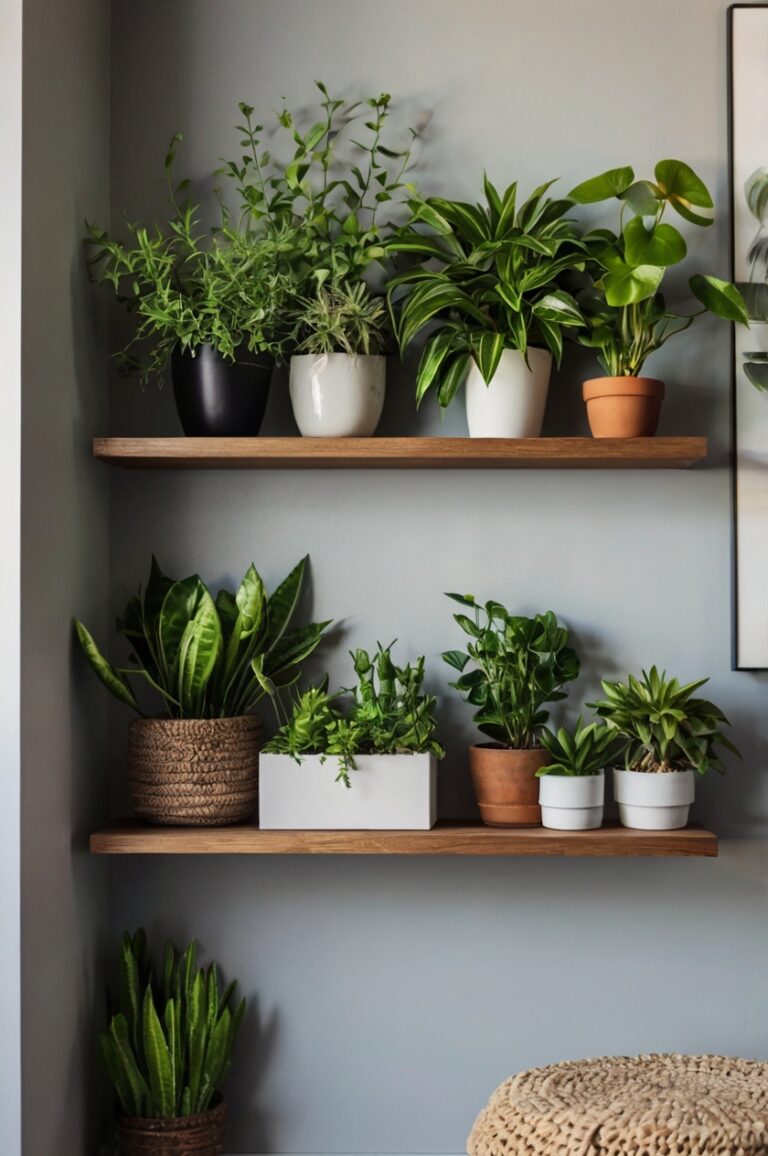
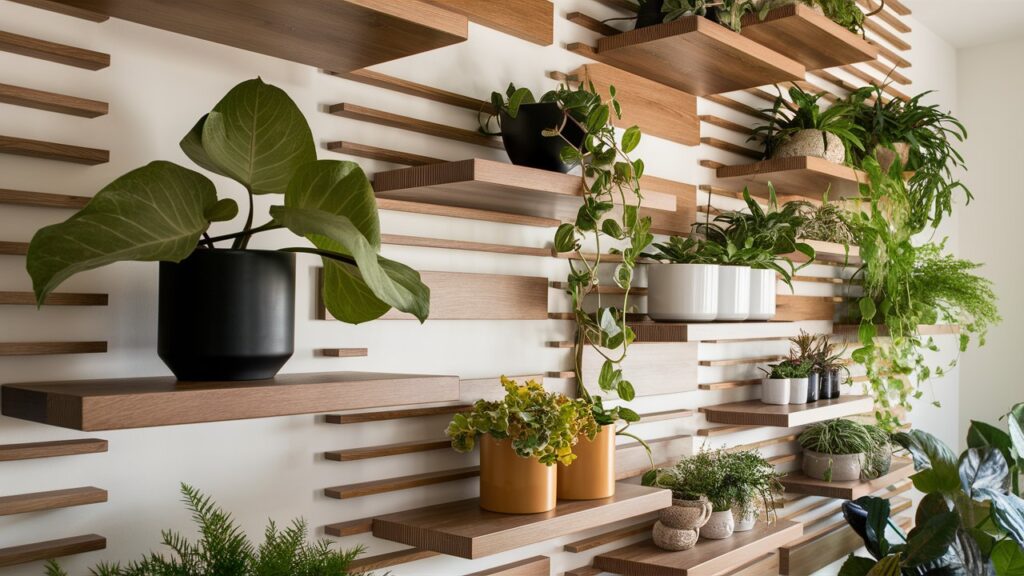
Once the plant shelf system is securely installed, it’s time to add your plants. Choose a variety of plants in different sizes and textures to create a dynamic look. Small succulents, trailing vines, and larger potted plants can be arranged together for an eye-catching display. You can also experiment with different plant pots to add character.
Step back and review your work. Make any necessary adjustments to the positioning of the shelves or plants to achieve the perfect balance. Consider adding some decorative pieces like a lamp to complement your plant display.
Pro Tips for Success:
- Choose Plants Based on Lighting: Make sure to select plants that thrive in the lighting conditions of the room. If your shelf is near a window, you might want to add sun-loving plants like succulents. For shadier spots, consider ferns or snake plants.
- Waterproof Your Shelves: Since the shelves will hold plants, it’s a good idea to protect the wood from moisture. Use a waterproof sealant on the wooden shelves and slats to prevent warping over time.
- Lightweight Pots: Using lightweight pots helps reduce the strain on your shelves and makes it easier to move things around.
- Create Visual Balance: Alternate the height and size of the plants on each shelf to create balance. You can also add items like vases or a lamp to fill in gaps between the plants.
Final Thoughts
This DIY wall-mounted plant shelf system, with the addition of decorative wooden slats, will transform any room by adding natural beauty and vertical interest. The slats create a structured, layered look that highlights both the plants and the shelves, while also providing extra stability. By following these steps, you’ll have a custom plant shelf system that is not only functional but also a stunning piece of home décor.
